
Winston Churchill apparently said this around 1925 when he presented his first budget as Chancellor of the Exchequer and – while I’m almost certain that I am not believing it in quite the same way – I’m pleased to say that I’m finally starting to believe it for myself.
You’re probably wondering what I’m talking about, so I’ll take you back almost exactly a month; this is before the mind-numbing boredom, the emptiness and feeling sorry for myself and the horrible period where I had pizza delivered about six nights in a row. I even delayed writing this blog post until the issue was all sorted because I held this weird, irrational shame about the whole thing. Here it is: a month ago, I lost my job. In a mostly unexpected, but (retrospectively) smart move, the owner of the deli where I was working decided to shut the branch down due to a complete lack of people. There was nothing wrong with what we were doing, people loved us and came back, and it was a happy sort of work place. There were just no people. We weren’t situated on the ‘high street’ and weren’t exactly in a touristy sort of area that welcomed exploration…so, there were no people.
I’ve always enjoyed working and being challenged and allowing myself to grow and, after coming back from over a week’s staycation while my mum visited, I was feeling no different. I was ready to see how I could help things progress in the ever-dreaded and often stagnant month of January. I quite naively never thought I’d be the type to ‘deserve’ losing their job. How foolish I was; before I was even back to work, I’d found out that we would shut our doors that Sunday – only five days away. At first, I felt a little like my insides had been ripped out or perhaps like I was a small child who’d been swallowed by a wave at the beach (come on…you all know what I’m talking about, right?!). As the reality of the situation sunk in though, I started to apply for jobs. Probably at least sixty of them. Then I went to at least ten interviews, which were followed by even more interviews. Pretty quickly, unemployment had turned into a job in its own right. I was still so bored though; nothing had prepared me for the quickly developing feeling that I had no real ‘purpose’.
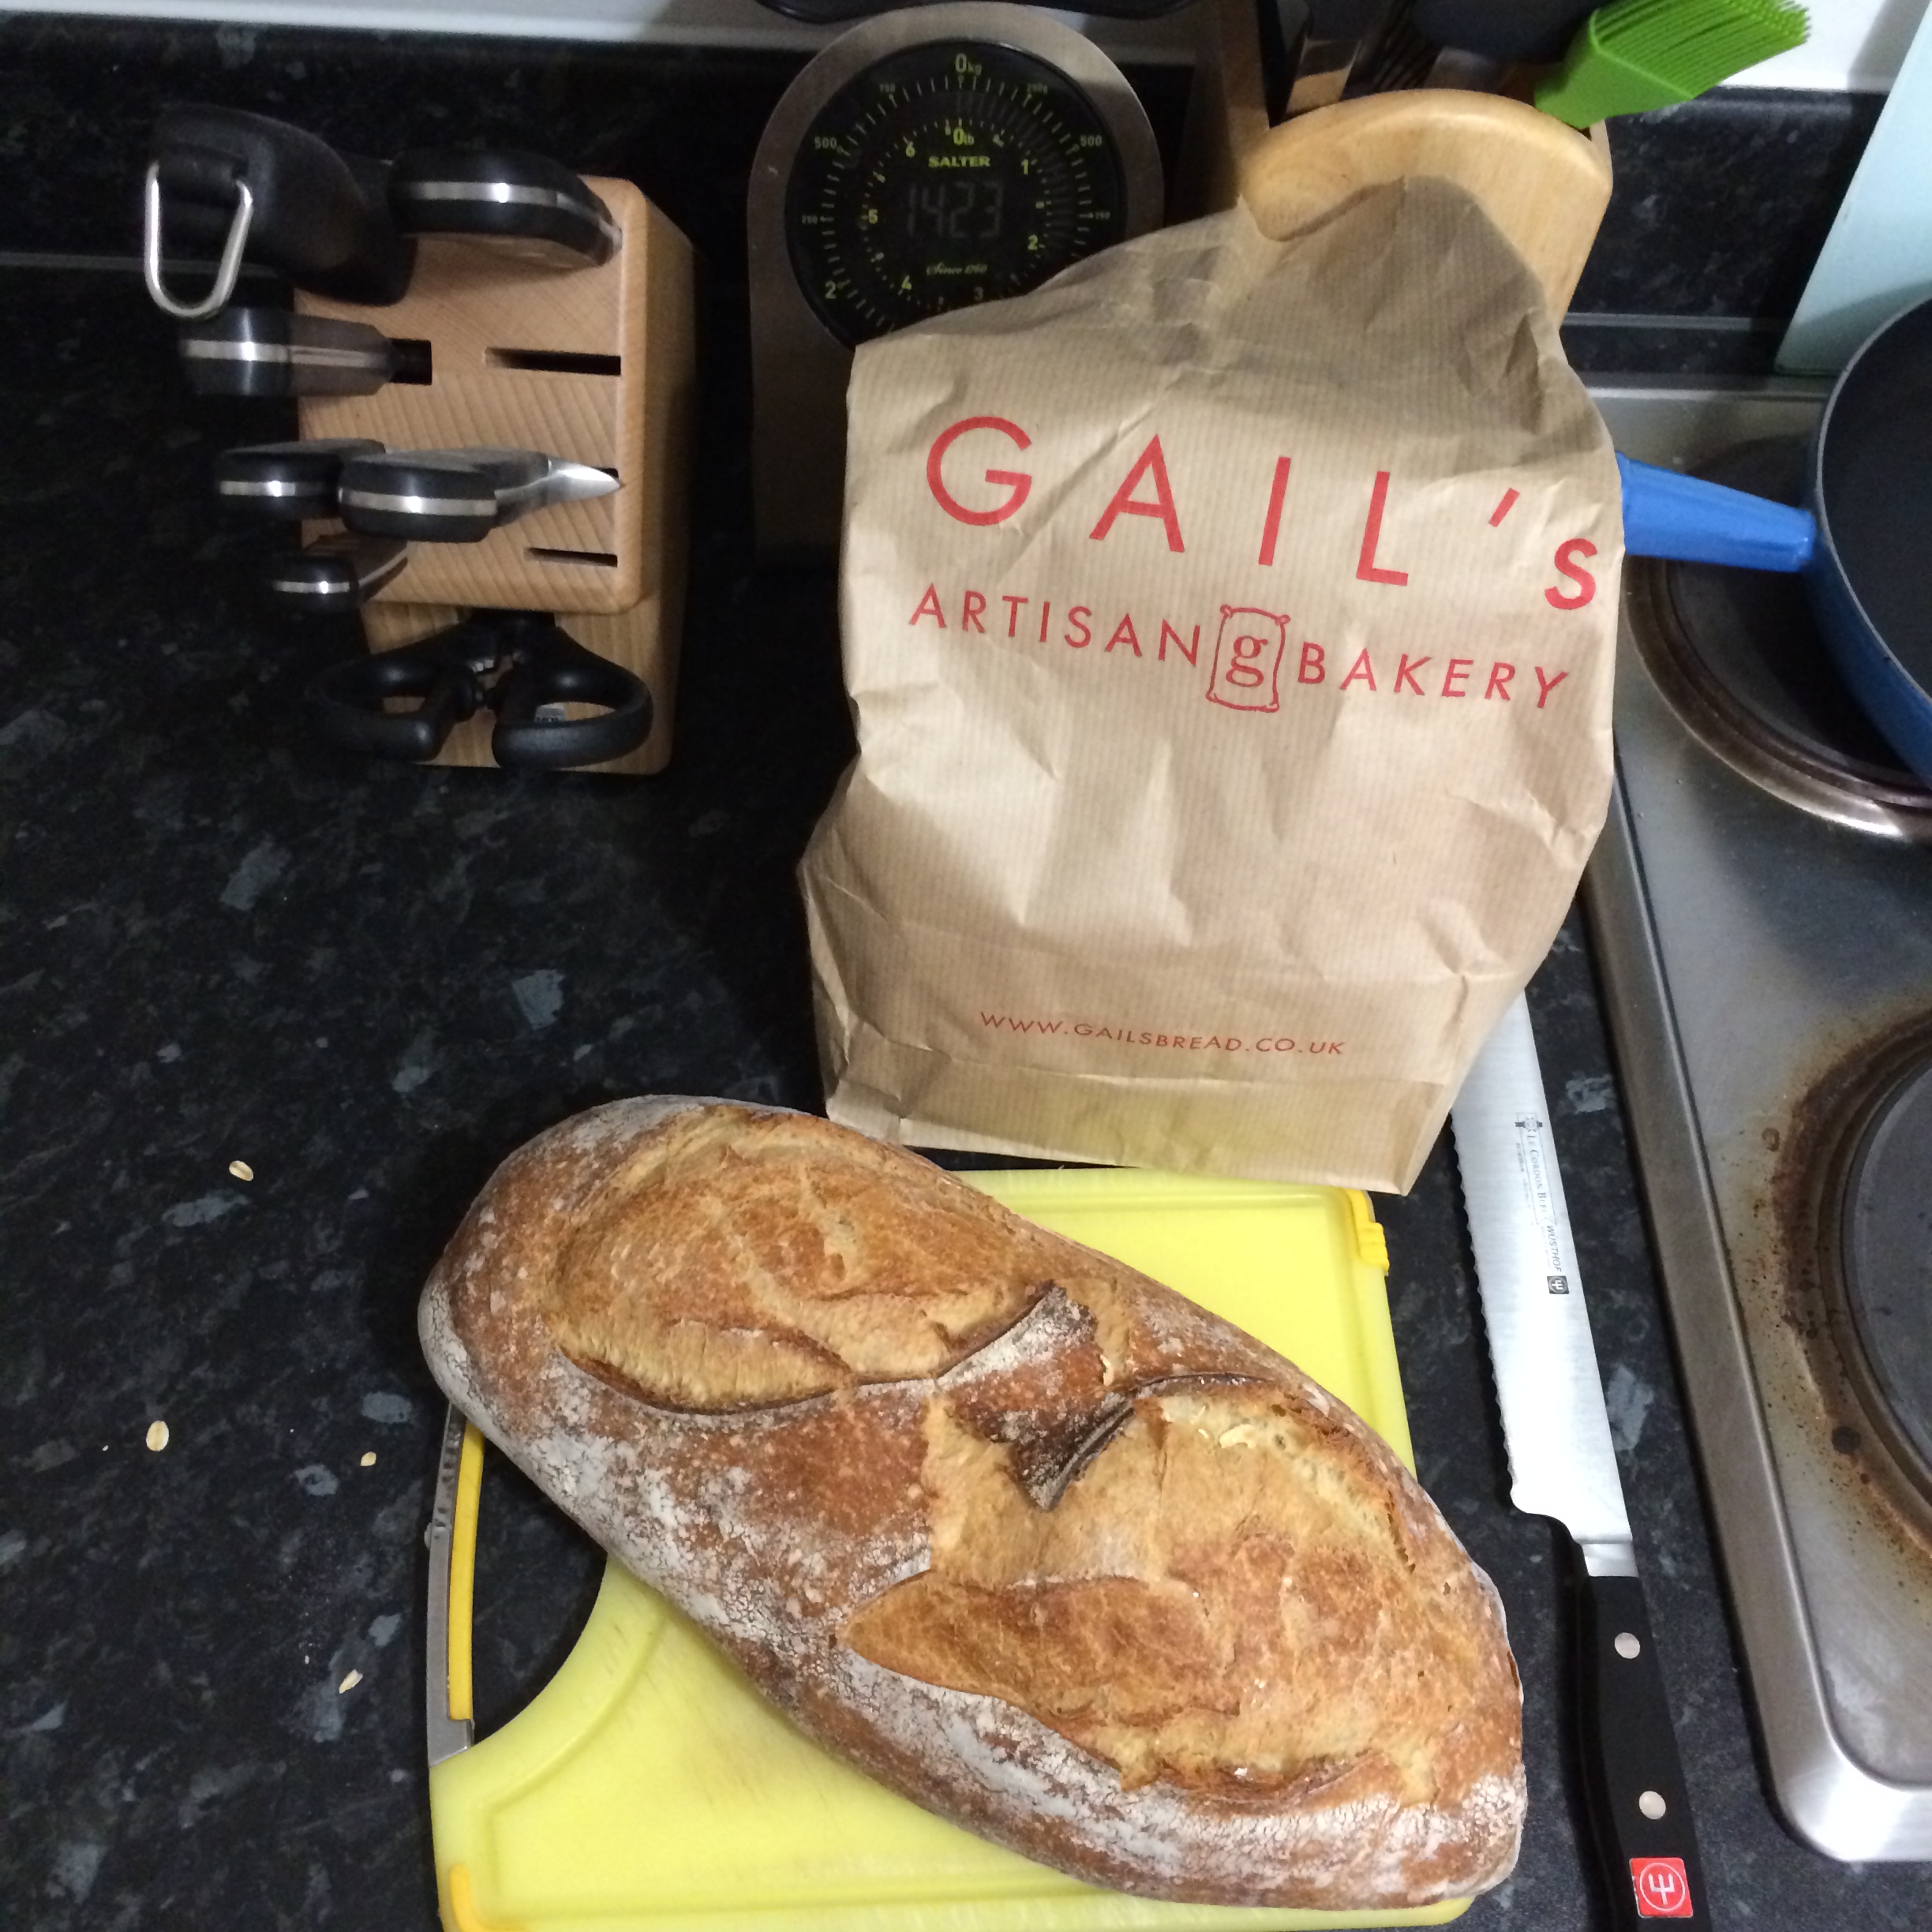
This Thursday though, after a couple of other job offers earlier on in the week, I was finally offered a great job at Gail’s Bakery with the chance to really grow into the role and company while I start training on Monday to become an Assistant Bakery Manager and beyond! Those who know me will hopefully already know a couple of things about me: a) I tend to believe that everything in my life has happened for a reason – to open a door or lead me in a certain direction and b) that I want to go back home to Bermuda in a few years and open my own bakery/café business. I feel that my impending employment at Gail’s is not only a great fit for my personality and skills, but that it will provide me with a great environment in which to shape my own ideas for the future. The pay is even a little better than my old job; how’s that for some icing on the cake?
Speaking of icing, perhaps you’re wondering where the food is. So, in light of the recent sweet turn of events in my life… here are a couple of treats I’ve enjoyed during the past few weeks. I used my delightful Kitchen Aid stand mixer for both of these recipes, but the red velvet cupcakes could very easily be made with the use of a little elbow grease. However, I’m not sure I’d want to attempt the cinnamon rolls without a mixer as they’re made with an enriched dough (a bread made more delicious with the addition of things like butter and egg/egg yolk) and a) require a metric f-tonne of kneading and b) are extremely sticky to knead, so you’d probably end up with the dough all over your kitchen instead of eventually baking and eating it.
Red Velvet Cupcakes
recipe adapted from The Hummingbird Bakery Cookbook
cupcakes:
2 tablespoons (28 g) unsalted butter, at room temperature
3/8 cup sugar
1/2 egg
1/2 tablespoon unsweetened cocoa powder
1 tablespoon red food colouring
1/4 teaspoon pure vanilla extract
1/4 cup buttermilk
1/2 cup plus 1 tablespoon plain flour
1/4 teaspoon salt
1/4 teaspoon baking soda
3/4 teaspoon distilled white vinegarcream cheese frosting:
1 1/6 cup icing sugar, sifted
1 1/2 (21 g) tablespoons unsalted butter, at room temperature
60 g full-fat cream cheese, coldTo make the cupcakes:
Preheat the oven to 170° C (325° F) and prepare 6 holes of a muffin tin with paper cases.Put the butter and sugar into the bowl of a stand mixer with a paddle attachment fitted (or use a handheld electric whisk) and beat on medium speed until light and fluffy and well mixed. Turn the mixer up to a higher speed, slowly add the egg, and beat everything until well incorporated, remembering to scrape down the sides and bottom of the bowl.
In a separate bowl, mix together the cocoa, red food colouring, and vanilla to make a thick, dark paste. Add to the butter mixture and mix thoroughly on a medium-high speed until evenly combined and coloured, scraping the side of the bowl as needed. Turn the mixer down to a slow speed and slowly pour in half the buttermilk. Beat until well mixed, then add half the flour and beat until everything is well incorporated. Scrape the sides and bottom of the bowl and repeat again with the remaining buttermilk and flour. Scrape everything down again. Turn the mixer up to a high speed and beat until the batter is smooth and even. Turn the mixer back down to low speed and add the salt, baking soda and vinegar (don’t be alarmed when it fizzes!). Beat until well mixed, then turn up the speed again and beat for a couple more minutes.
Spoon the batter into the paper cases until two-thirds full and bake in the oven for 20-25 minutes or until the cake bounces back when touched. A skewer inserted in the centre should also come out clean. Let the cupcakes cool slightly in the pan before turning out onto a wire rack to cool completely.
To make the frosting:
Beat the icing sugar and butter together using the paddle attachment of a stand mixer until well combined to create a sandy sort of texture. Add the cream cheese all in one go and beat on a medium-high speed until combined. Do not continue to beat beyond this point though as the frosting will become runny very quickly. If you are scared of reaching this stage too soon, take the bowl off the mixer and stir vigorously with a spoon until smooth instead.Decorate the cupcakes with a palette knife or an icing bag and tip!
Yields 6 cupcakes
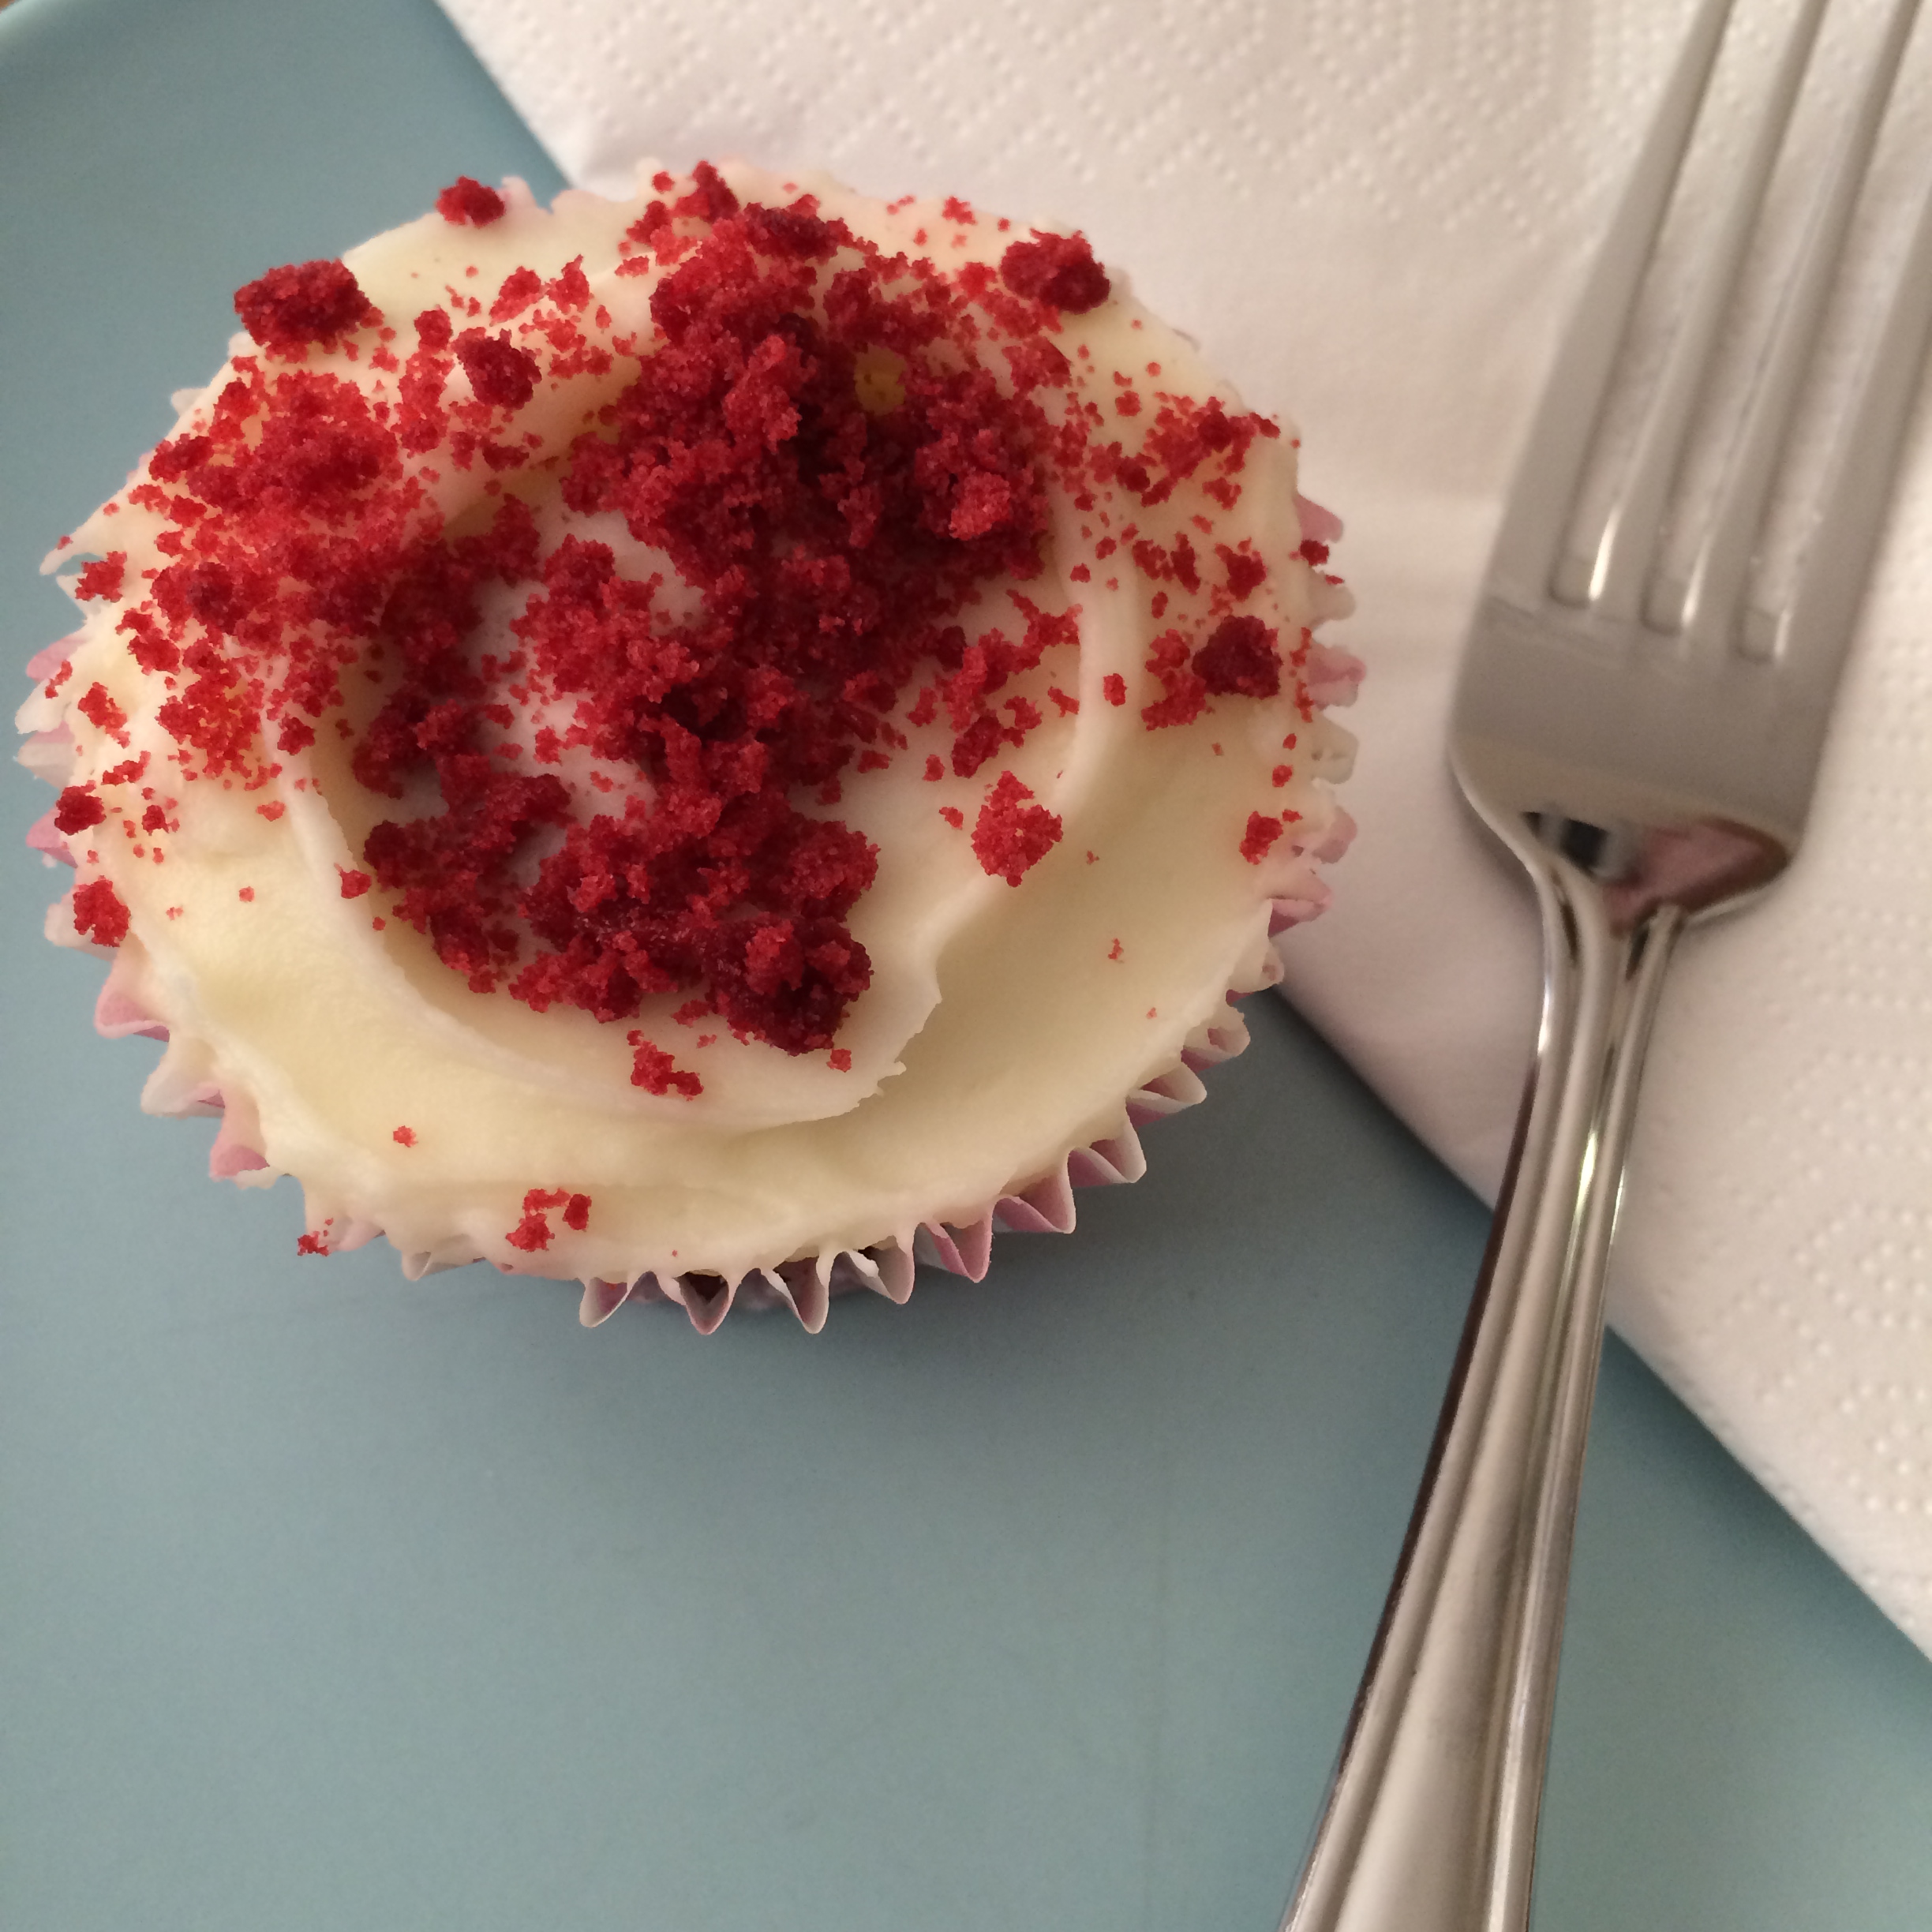
I know the idea of using half an egg is pretty annoying here, but it’s easy enough to do by cracking the egg into a bowl on a scale, beating and then weighing half of it into your mixing bowl (roughly 30 g). Wrap up the remaining egg in the bowl with some plastic wrap, refrigerate and add it to Gordon Ramsay’s scrambled eggs sometime soon. Very simple, and very delicious. A few other thoughts on the ingredients used. The food colouring here should not be a ‘natural’ one; it needs to be as fake as they come to achieve the striking red colour. Another time, I’ll tackle the more natural approach to a red velvet cupcake that uses beetroot. Cocoa powder quantity could be upped to 1 1/2 tablespoons for the 6 cupcakes as seen in Joy the Baker’s version of the recipe, and in fact several printings of the book, for a more prominent chocolate taste. To create the red topping I added to the iced cupcakes, simply cut the tops of a couple of the larger cooled (but not iced) cupcakes and crumble loosely with your fingers.
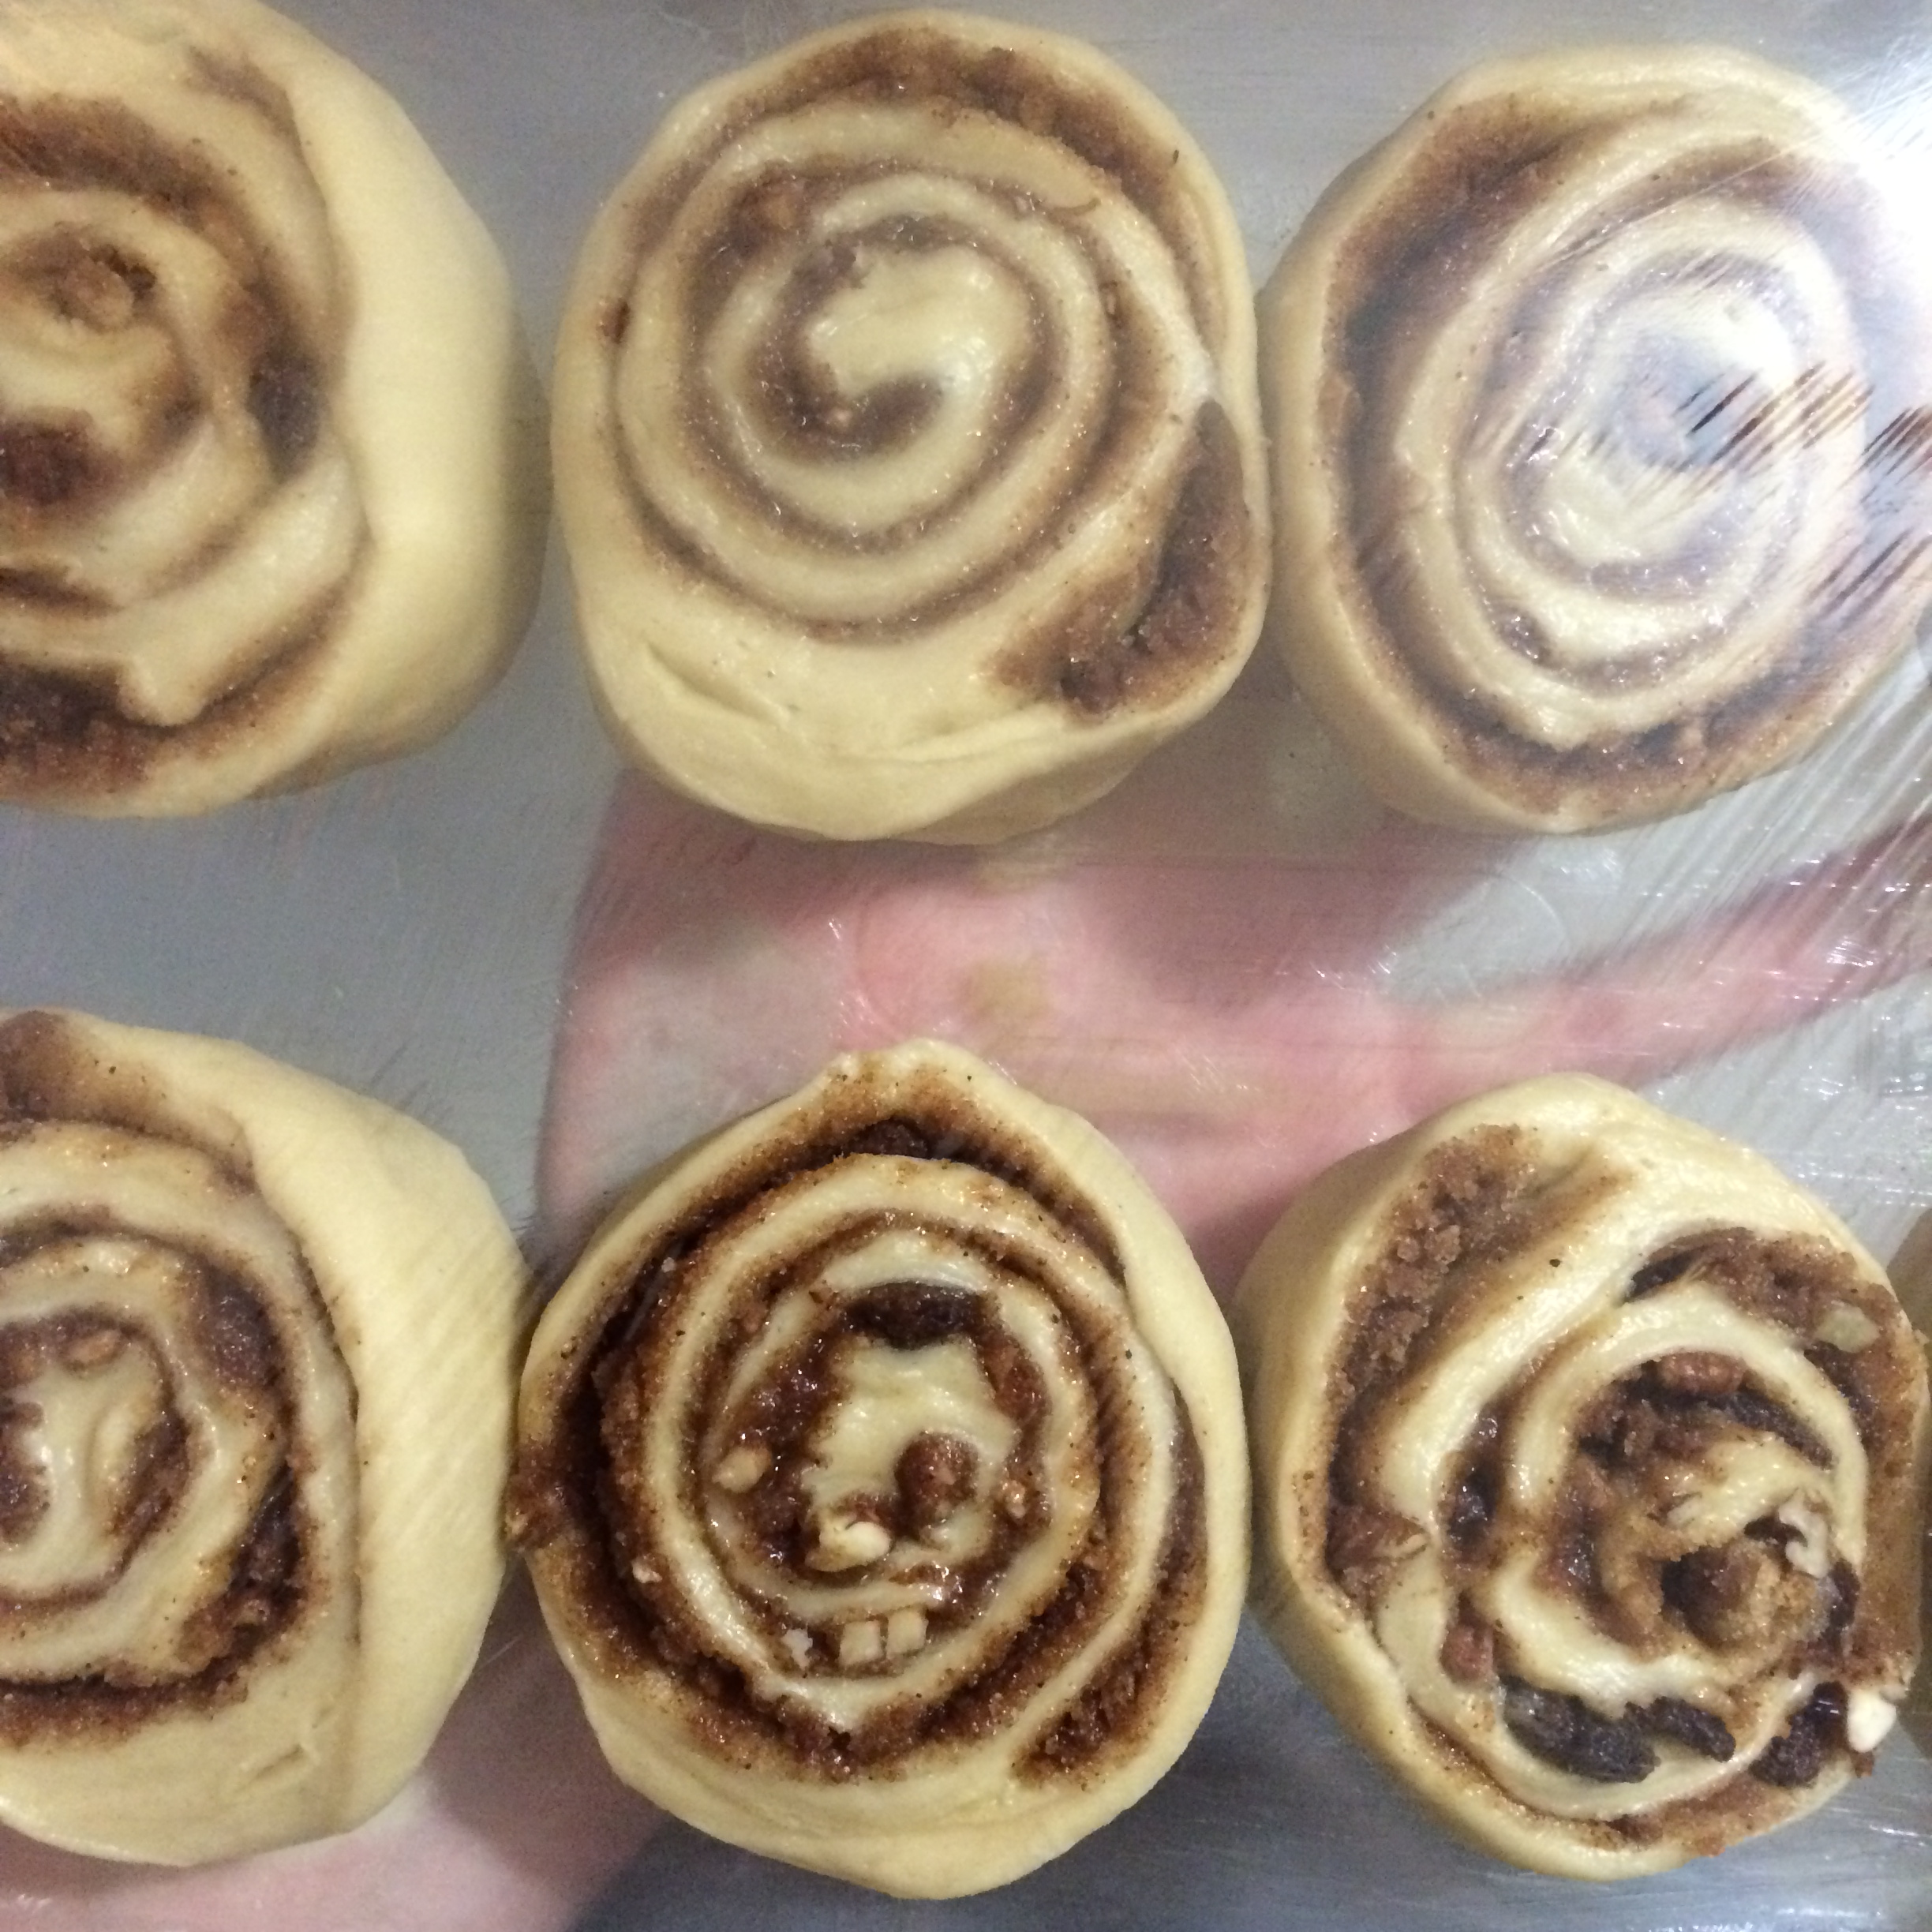
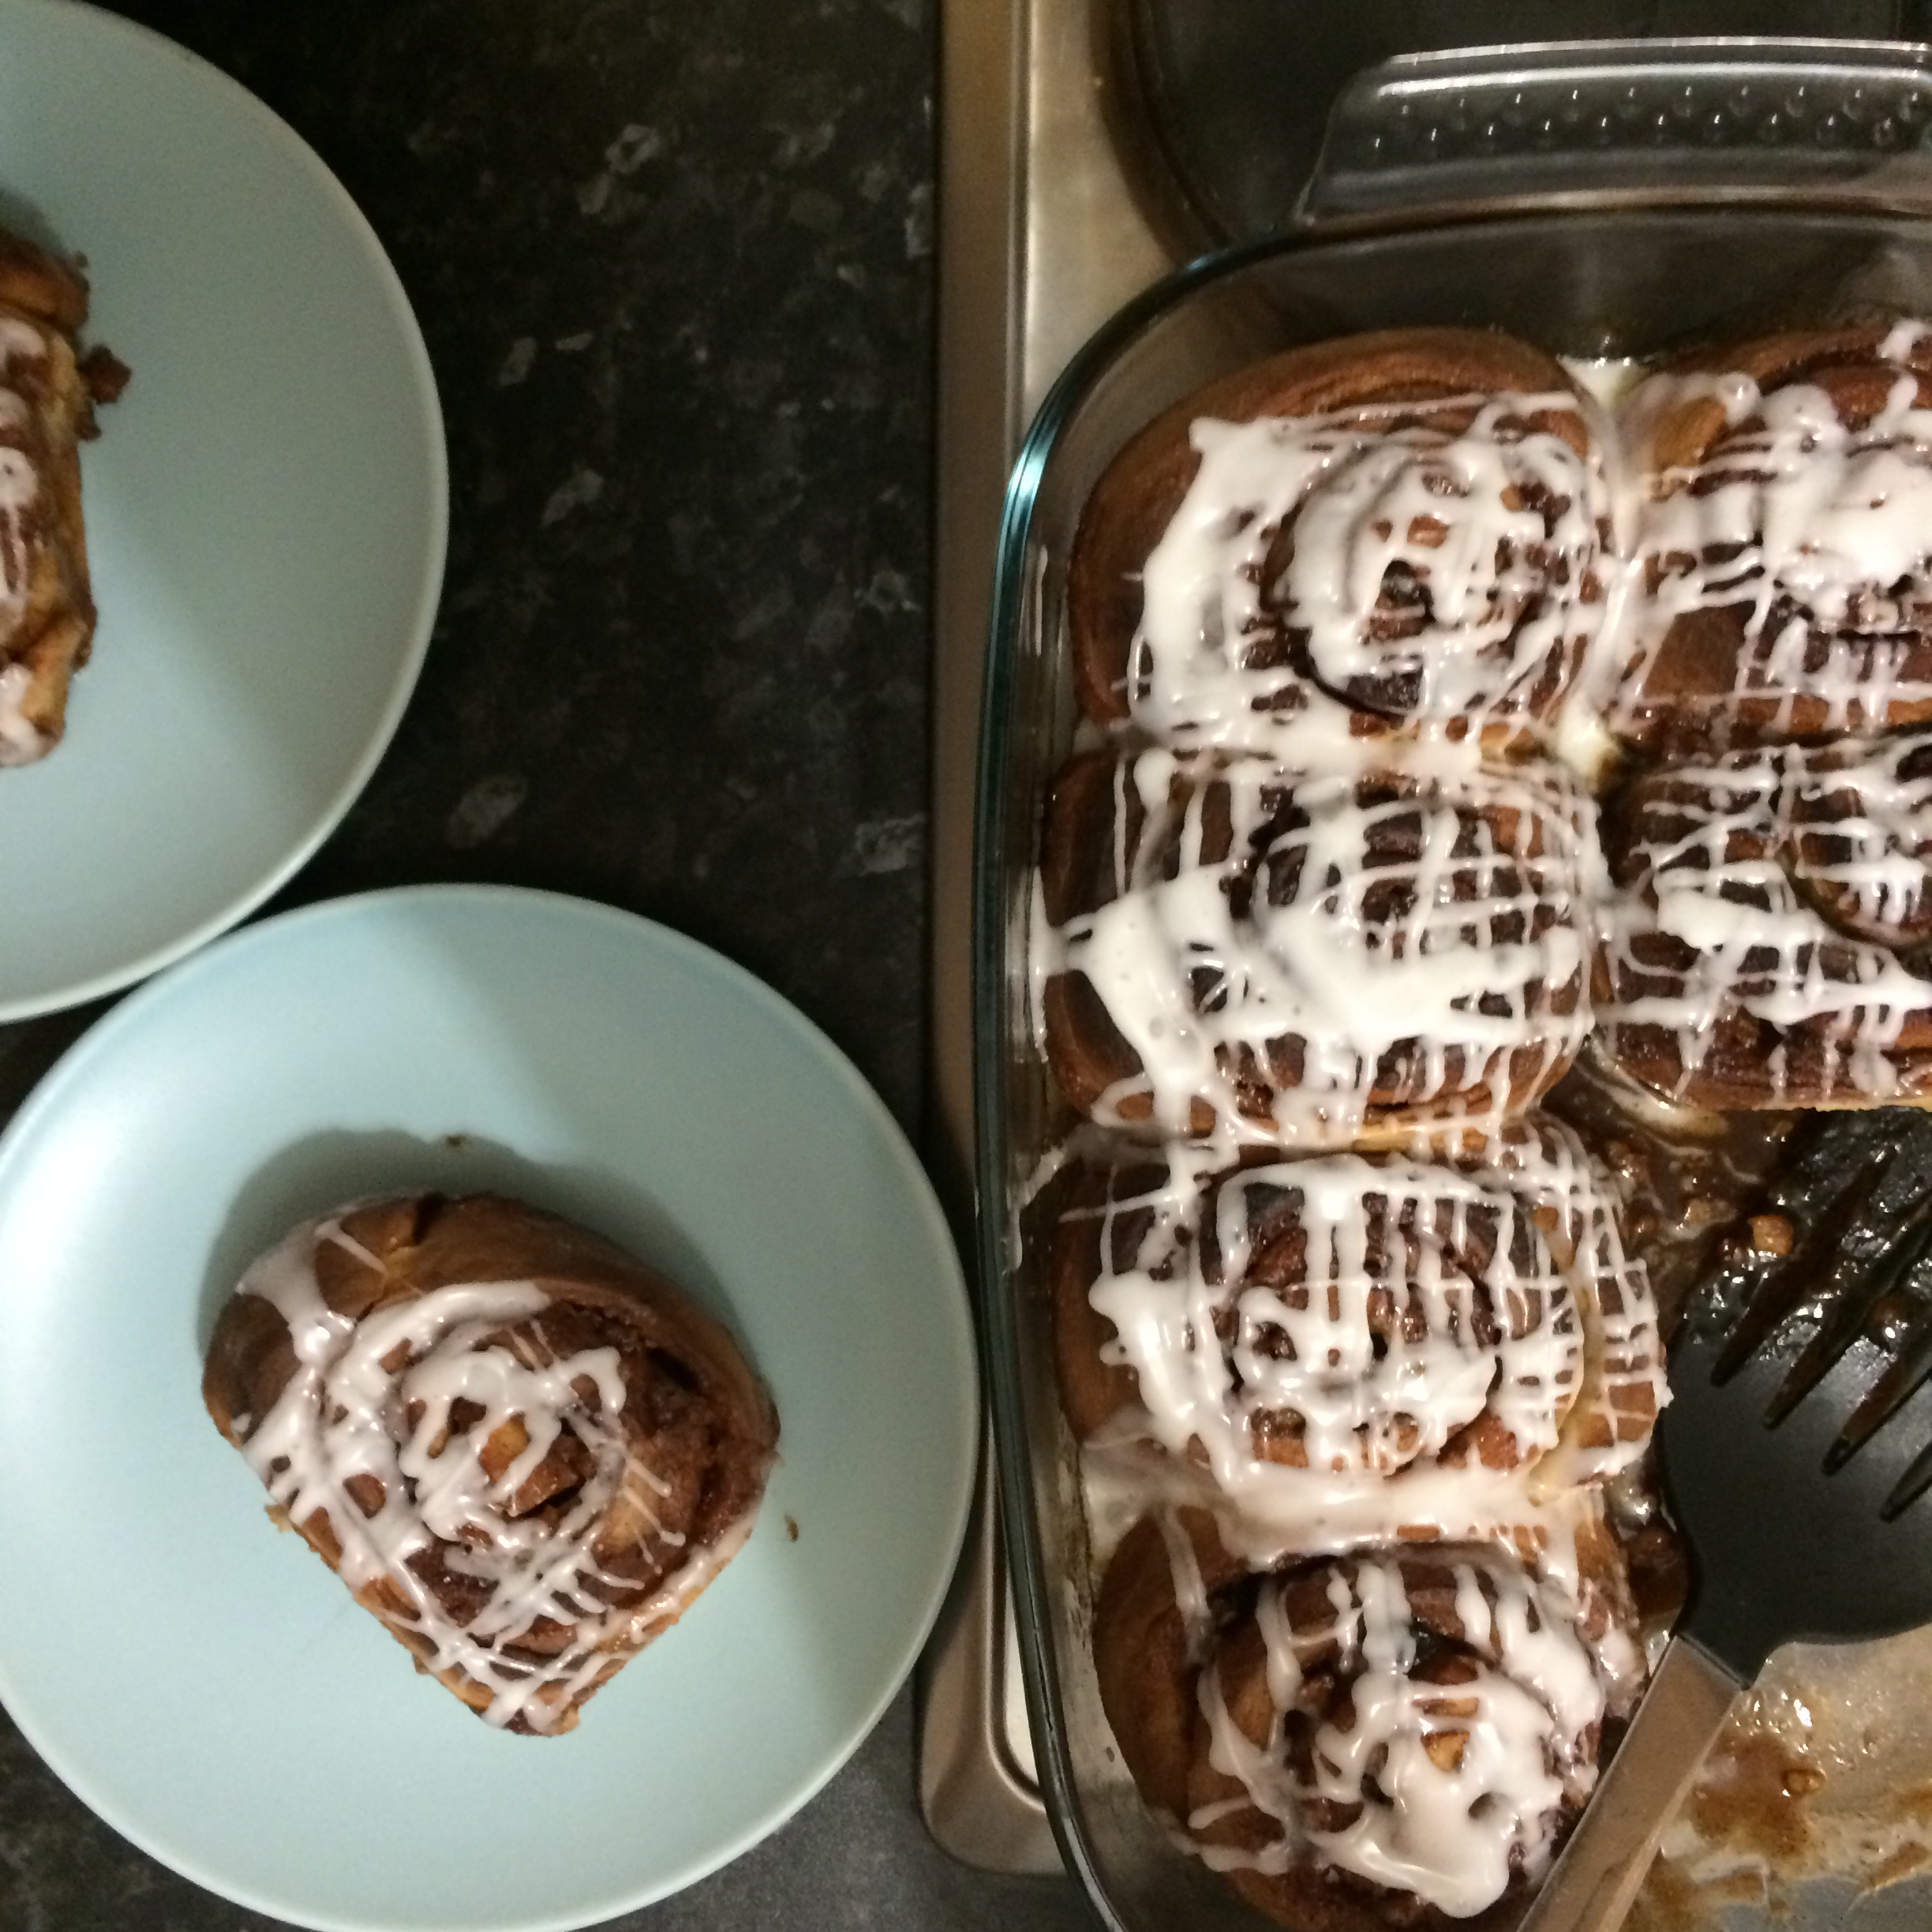
Giant Cinnamon Rolls with Buttermilk Glaze
recipe adapted from Joy the Baker Cookbook
dough:
7 g dry yeast
1/2 teaspoon plus 1/4 cup granulated sugar
1/2 cup whole milk, at room temperature
2 tablespoons packed brown sugar
1 teaspoon pure vanilla extract
1 egg
1 egg yolk
2 3/4 cups plain flour, plus about 3/4 cup more for kneading
3/4 teaspoon salt
1 stick (114 g) unsalted butter, softenedfilling:
1/2 cup granulated sugar
1/2 cup packed light brown sugar
1/2 cup finely chopped pecans
1/4 cup raisins (optional)
1 tablespoon ground cinnamon
1/2 teaspoon salt
pinch ground cloves
3 tablespoons pure maple syrup
1/2 stick (57 g) unsalted butter, meltedicing and finishing:
1 cup icing sugar
1/8 cup buttermilk
1/2 stick (57 g) unsalted butter, meltedTo make the dough:
In the bowl of a stand mixer, combine yeast and 1/2 teaspoon of the granulated sugar. Add in 1/4 cup warm water (it should feel just about warm if you test it with your pinky). Stir to combine and wait until it all looks nice and foamy (about 10 minutes).Add remaining 1/4 cup granulated sugar, milk, brown sugar, vanilla, egg and egg yolk. Beat with a wire whisk until well combined. Fit the bowl onto the mixer along with a dough hook. Add the 2 1/4 cups flour and the salt and mix on medium speed until the dough just begins to come together. Turn the mixer to medium-high speed and knead the dough for 4 minutes.
With the mixer still running, add the softened butter in pieces. (I like to smash the butter flat between pieces of parchment paper so it’s well and truly soft and then tear pieces of the butter away and squish them through my fingers while I wait to add them into the mixer. This way they’re really soft and incorporate easily into the dough.) After all the butter is added in, keep the mixer running on a medium-high speed for about 2 more minutes. There should be no visible patches of butter, and your dough should be sticky, but able to pass the windowpane test. Place the dough on a well-floured surface and knead 1/3 to 1/2 cup of flour into the dough. It will still be slightly sticky, but a little less so than before and you may notice that it has begun to take on a sort of… smoothness. Place the dough to rest in a large, greased bowl and cover with plastic wrap. Turn your oven into a make-shift prover by putting a bowl of boiling water in the bottom while it is turned off, put your covered dough bowl in and let it rest for about 2 hours or until doubled in size. For goodness sake though… don’t let anyone else in the house turn the oven on during this period or your dough will die.
To make the filling:
While your dough is doing its thing, combine the sugars, pecans, raisins, cinnamon, salt and cloves. Stir in the maple syrup and set aside.When the dough has doubled in size, dump it out of the bowl onto a heavily floured work surface. Gently knead until it is no longer sticky, adding up to 3 tablespoons of flour if necessary. Knead for about 2 more minutes. Rest your previously used cling film over the dough and let it rest for 5 minutes.
Using a floured rolling pin, roll the dough into a 10 x 20 inch square. (To make sure my dough doesn’t stick while I’m rolling it out, I’m constantly flipping it over so that the underside is facing up, and lightly re-flouring the surface of the dough and the counter.) Turn the dough so that the short sides are parallel to you.
Brush the dough with 1/2 stick of melted butter. Pour all the filling onto the dough and pat evenly to the edges, except on one of the short edges so that you can seal the roll.
Roll the dough into a tight cylinder and pinch all along the edge to seal. Place the dough, seam side down, on a cutting board and cut the roll into 8 even slices. Arrange the slices, cut side up, in a greased 9 x 13 inch pan. Each roll will have a few inches of space on all sides. Cover with plastic wrap and leave to rest in your make-shift prover for 2 hours, of if you’re well organised like I was you can rest the covered slices in the fridge overnight. Just be sure to leave them out at room temperature for about an hour before baking in the morning.
Place a rack in the upper third of your oven and preheat to 190° C (375° F). Bake until golden brown and bubbling, about 30 minutes.
To make icing:
While the rolls are baking, melt the final 1/2 stick butter ready for brushing over the rolls and prepare the buttermilk glaze by simply whisking the icing sugar and buttermilk together until smooth and well-combined.As soon as the rolls come out of the oven, brush on the melted butter. Wait 5 more minutes and then drizzle on the buttermilk glaze. I did this by gathering up a big bunch on a spoon, slowly letting it drop and then quickly flicking it over in one direction and then the other to create a criss-cross pattern.
Yields 8 rolls.
This is a pretty exhaustive recipe, but comes together pretty easily with the right tools and a bit of planning ahead and is definitely worth it to tuck into on a weekend morning for breakfast! I wrapped up my extras individually in plastic wrap and froze them. The night before I wanted to eat them, I left them out to defrost and then refreshed in the oven for about 10 minutes. The icing didn’t re-heat as well as the actual bun, so in the future I might make a smaller portion of glaze each time I have them and ice them individually once they have been served.
The only real culprit in this set of ingredients with the chance to be lost and wasted in the back of the fridge is the buttermilk. So here are just a few ideas for using up the container:
Smitten Kitchen’s broccoli slaw, these amazing cheddar, jalapeño and chive biscuits which freeze extremely well and are an excellent companion once re-heated to pretty much any soup, Gwyneth Paltrow’s delicious buttermilk pancakes, Nigella Lawson’s chicken nuggets which can be baked instead of fried and use Ritz crackers for the crust!
In my last post, I apparently ended things a little abruptly according to my hairy man thing of a boyfriend; so here, if for no other reason than to placate him, is another Winston Churchill quote for everyone to ponder/enjoy.
“I may be drunk, Miss, but in the morning I will be sober and you will still be ugly.”
Churchill seems to have been a little feisty at times.
